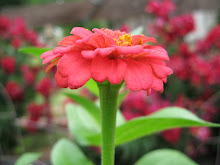
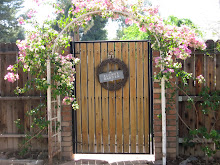
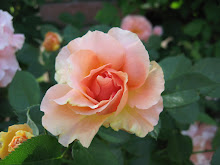
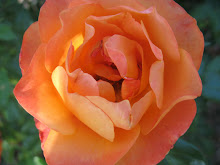
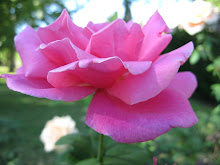
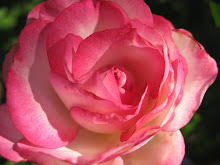
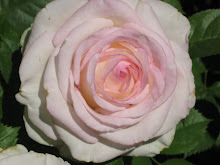
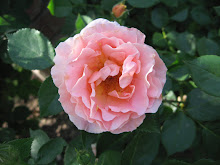
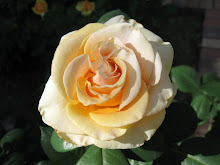
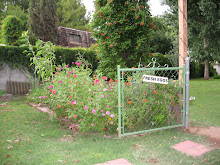
Is this specimen incredible or what? She is Evelyn (a David Austin rose). I really could just stop right there, but I won't. I need to tell you something really important about her. Because I like to share beautiful things. The way I see it, the vegetables in my garden feed my body, but the roses... feed my spirit!
 You see how she grows along the fence, cascading along like it's so easy and breezy? Well it is. But, that's because her long flexible canes have been trained or pegged. Since it's pruning time I thought I'd show you how Evelyn looks this time of year, all bare and showing off her strong, elegant eight foot canes. Many of the David Austin roses can be left either as a shrub rose or grown as a climbing rose. If you decide to train your rose against a wall, trellis or fence, be sure to let some of the canes grow long from the base of the plant. This is where the magic begins!
 Let's go back to the beginning. The photo below is the rose bush before I have finished pruning. I start at the base and go work my way up. I thin out all of the spindly, dead and damaged wood. I also take out any of the crossing canes and thin out some of the growth where it's getting too thick. As I work through the rose bush, I pull off all of the old leaves, or most of them! Consider it a form of meditation...


 Here, you can see what a vigorous grower Evelyn can be. If you let her or any climber go without pruning, you will end up with a tangled mess! In this photo you can see that more thinning is needed. The next two photos show the rose bush after pruning and thinning. The pegging or tying is also finished.
 When you get down to the canes that are in the right place for pegging, grab the end and form a lovely arch. Your arch can go back down to the ground, almost in a circle or you can form a more gentle arch. If you'd like to cover a wall you might train the canes in a more horizontal position. Secure the end of canes to the fence, trellis or post. Weave the canes into one another or "peg" on it's own with twine or plant ties.

 As the weather warms, and the rose begins to come to life, you can see the magic in this method. Look at all of the little reddish leaves along the arched canes. This is the new growth, every bud eye at every leaf node along the arched canes can produce a stem and a flower! That means that roses will form all along the arches instead of a single rose at the end of a regular vertical cane! That's a lot of roses!

Above, the rosebuds all lined up ready to bloom! 
Beauty in a basket.
For more info.on pegging, here's a fantastic video of Paul Zimmerman sharing a little knowledge!
We've linked up with The Prairie Homestead here!